


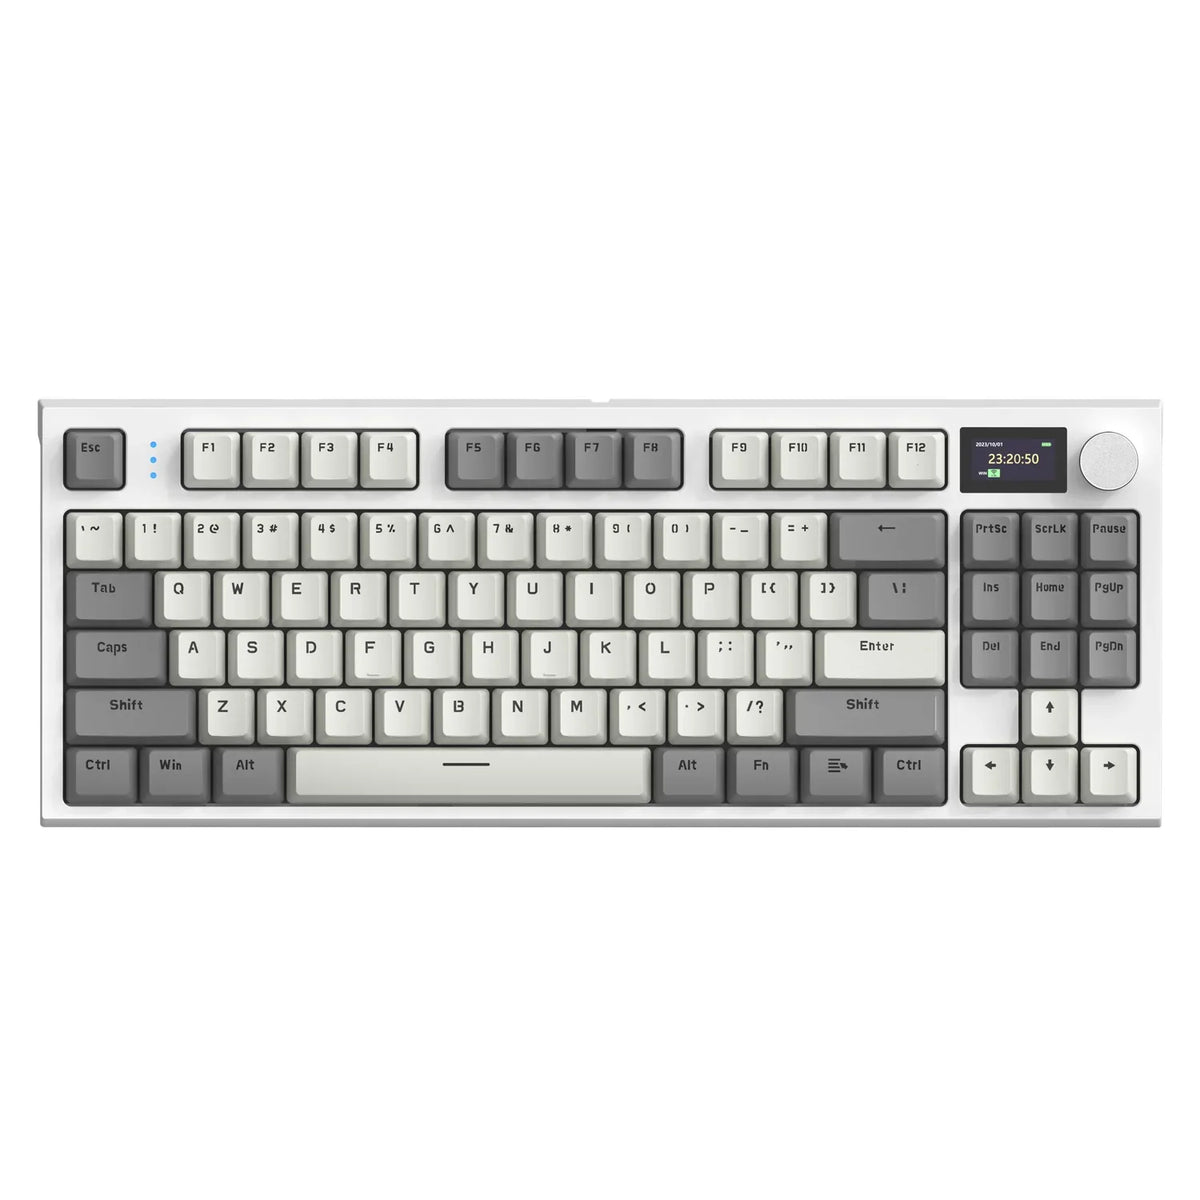
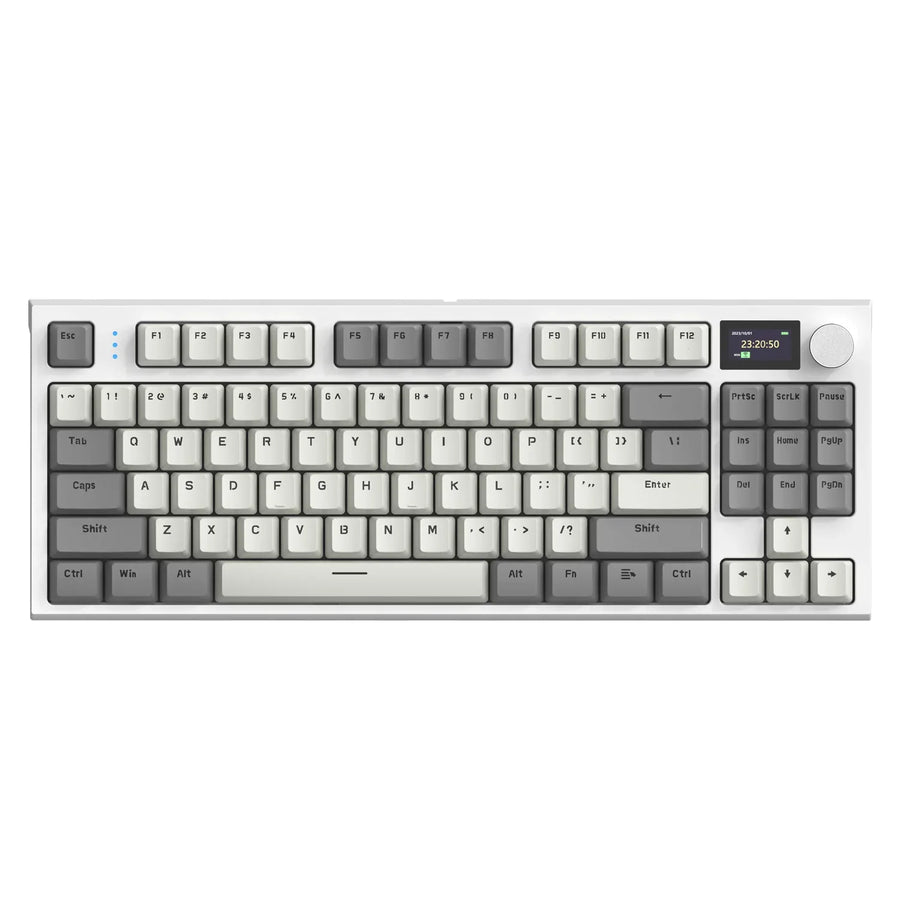
When mechanical keyboard switches start chattering, double-registering, or missing presses on a hot-swappable mechanical keyboard, the fastest fix starts with isolating that single switch before reaching for any cleaner. Test the key several times and compare it with a nearby key that still feels normal. If the odd behavior travels with the physical switch, dry cleaning is the safest next step; if it stays put in the same socket even after you swap switches, the socket or PCB needs attention instead of another cleaning pass.
Start by Isolating the Chattering Switch
Confirm the exact key and its behavior before you open anything. A short comparison test tells you whether to start with dry cleaning or move straight to hardware diagnosis.
Confirm the Symptom
- Press the suspect key ten to fifteen times in a normal typing rhythm, or use a keyboard tester tool, and count double or missed inputs.
- Press a nearby key that behaves correctly the same number of times so you have a true baseline.
- Note whether the fault looks like double registration, a missed press, or rough, scratchy travel, since each points to a different cause.
Choose the First Branch
- If the key shows double registration or rough travel and the board is hot-swappable, dry dusting is the least invasive next step.
- If a controlled swap is practical, move the suspect switch to a different known-good socket. A fault that follows the switch supports cleaning or eventual replacement; a fault that stays with the original socket points to the board, connector, or PCB instead.
Make the Keyboard Safe Before Cleaning
Disconnect the keyboard before any maintenance, and treat unknown cleaner or lubricant compatibility as a hard stop rather than a guess. This boundary applies to every step later in the guide.
Before Opening the Board
- Unplug the keyboard or remove its battery/receiver connection, and confirm it has no power before removing a keycap or switch.
- Set the keycap and any tools on a clean, flat surface so debris and small parts stay contained.
The Material Stop
- Do not clean or lubricate a switch based only on a general label like "plastic-safe." Confirm the exact product documentation covers your switch housing, contact leaf, socket, and PCB materials.
- Stop and skip the chemical step if that compatibility information is not available; dry cleaning or replacement is the safer path.
- Follow the product's own ventilation and drying directions, and do not reconnect the keyboard until the applied material has fully dried as that documentation directs.
Clean an Installed Switch Without Desoldering
Removing loose dust from an installed switch only requires the keycap off and a controlled dry method. Retest the same key afterward to see whether the fix actually worked.

Dust the Accessible Switch
- Pull the keycap straight off the affected key using a keycap puller or steady, even pressure.
- Use short bursts of compressed air or light brush strokes around the stem opening to lift loose dust and debris away from the housing.
- Avoid pushing air or a brush tip forcefully into the housing, since that can drive debris deeper instead of removing it.
Test Before Escalating
- Reconnect the keyboard once you are confident no debris or liquid remains inside the switch.
- Repeat the same key test you used during diagnosis and compare it with the known-good key again.
- If registration and travel feel normal, stop here. If the result is unchanged or fades after a short time, move to the next section instead of repeating dry cleaning indefinitely.
Use Contact Cleaner Only for a Verified Contact Problem
Electrical contact cleaner is justified only when dry cleaning didn't resolve a real contact-related symptom, not as a routine dusting step. Before using any cleaner, the exact product documentation has to cover your switch, socket, and PCB materials.
When Cleaner Is Justified
- Use it only after loose debris has already been removed and the chatter still looks like a contact issue rather than dust sitting on the stem.
- Do not treat every case of chatter as automatic proof that a chemical cleaner is needed; many cases resolve or clarify with dry cleaning and retesting alone.
What the Documentation Must Cover
- The cleaner's exact formulation and applicator type, since a spray, brush-tip, or precision valve changes how much liquid reaches the contact.
- Confirmed compatibility with your switch housing, metal contact, hot-swap socket, and PCB materials, not just a general "safe on plastics" claim.
- The manufacturer's application, ventilation, and drying directions, which vary by product.
DeoxIT D-Series technical documentation recommends applying a thin layer to the metal contact surface and testing compatibility first on parts you have no prior experience with, rather than treating any formulation as automatically safe for unfamiliar equipment. A quick-dry, non-drip format such as DeoxIT DN5S-6N is described by the manufacturer as safe on plastics with an adjustable valve for controlled application, but the same listing still calls for testing compatibility on sensitive or aging parts. That distinction matters: a precision format reduces overspray risk, but it does not certify compatibility with every switch, socket, or PCB.
Apply Only Within the Documented Boundary
- Apply only the small, precise amount the product documentation permits directly to the contact area, not a broad spray across the switch.
- Test compatibility on an inconspicuous or spare part first when the documentation recommends it.
- Let the cleaner dry completely per its instructions, then retest the key before returning the keyboard to normal use.
Lubricate a Compatible Switch Housing Without Desoldering
You can lubricate many hot-swappable mechanical keyboard switches by pulling them from the socket, opening the housing on the bench, and skipping the soldering iron entirely. This route only works when the switch design is compatible and the lubricant's material documentation supports your specific housing and stem.
Remove and Identify the Switch
- Disconnect the keyboard, then pull the compatible switch straight up out of the hot-swap socket.
- Identify the switch type, housing material, and stem material before opening it, since lubricant compatibility depends on these details.
- Open the housing with a compatible opener rather than forcing the clips apart by hand; our switch opener kit pairs an opener with a stainless steel puller sized for common hot-swappable switch families.
Spot-Test and Apply Sparingly
- Check the lubricant's compatibility documentation against the switch's housing and stem materials before opening more than one switch.
- Apply it to a single switch first and let it sit, since switch material chemical compatibility varies by proprietary polymer blend even among switches that look similar.
- Use only a thin, supported amount on the sliding rail and spring, and keep it away from the metal contact leaves and the PCB.
Know What Lubrication Can Change
- It can smooth scratchy or inconsistent travel and quiet the sound of the keypress.
- It does not repair or prove that an electrical contact fault has been fixed, so a chattering key can still chatter after lubrication.
- Stop if the switch feels sluggish, inconsistent, or physically different afterward; that result means the lubricant or amount was not a good match for that switch.
Store Removed Switches So They Stay Identifiable and Clean
Spare and removed switches stay useful only if you can tell them apart later. Labeling and separating them by treatment status prevents mixing a cleaned switch with an untested or suspect one.
Label Before Storing
- Record the switch type and its original key position when that information matters for reinstallation.
- Mark whether a switch has been cleaned, lubricated, tested, or is still suspect, so you don't reuse an unverified part by mistake.
Protect and Inspect
- Keep switches in a clean, closed container with separate compartments or bags instead of loose in a drawer.
- Store treated and untreated switches apart so a lubricant or cleaner residue doesn't transfer to a switch you haven't tested yet.
- Check the pins and housing clips for visible damage or leftover contamination before reinstalling any stored switch.
Clean Again or Replace the Switch?
A stable improvement after dry cleaning means you're done; a fault that keeps returning or stays with a specific switch means it's time to replace that switch instead of cleaning it again. A fault that stays in the same socket after swapping switches points to the board rather than the switch.
Choose Cleaning Again
- Repeat dry cleaning only if the earlier attempt clearly improved the symptom and the switch shows no physical damage.
- Don't keep repeating the same temporary fix; if it doesn't hold, move to replacement or deeper diagnosis instead.
Choose Replacement or Board Investigation
- Replace the switch when the chatter follows it during a swap test, or when you see bent pins, cracked housing clips, or other visible damage.
- Investigate the socket, PCB, or connection when the fault stays in the same position regardless of which switch you use there; our gaming keyboard troubleshooting guide walks through that hardware-level check.
- If the board still seems to be the source after that check, contact the manufacturer's support team rather than continuing to swap switches.
FAQs
What does it mean if the chatter remains in the same socket after I move the switch?
That result points to the socket, connection, or PCB rather than the switch itself, so repeating switch cleaning or lubrication will not fix it. The next step is to inspect that socket and connection for damage or a loose fit, and contact the keyboard manufacturer's support team if the board still seems to be the cause.
Can switch lubrication fix key chatter?
Lubrication smooths scratchy travel and dampens noise along the slider rails and spring, but it does not repair an electrical contact. If mechanical keyboard switches chatter due to an internal contact issue, adding lubricant will not resolve the duplicated keystrokes and can cause sluggish travel if misapplied.
Is contact cleaner safe for every mechanical keyboard switch?
No. Chemical contact cleaners should only be used when product documentation confirms compatibility with your switch plastics, metal contact leaves, and board materials. Always test an unfamiliar formulation on a spare part first and allow complete drying before reconnecting power.