


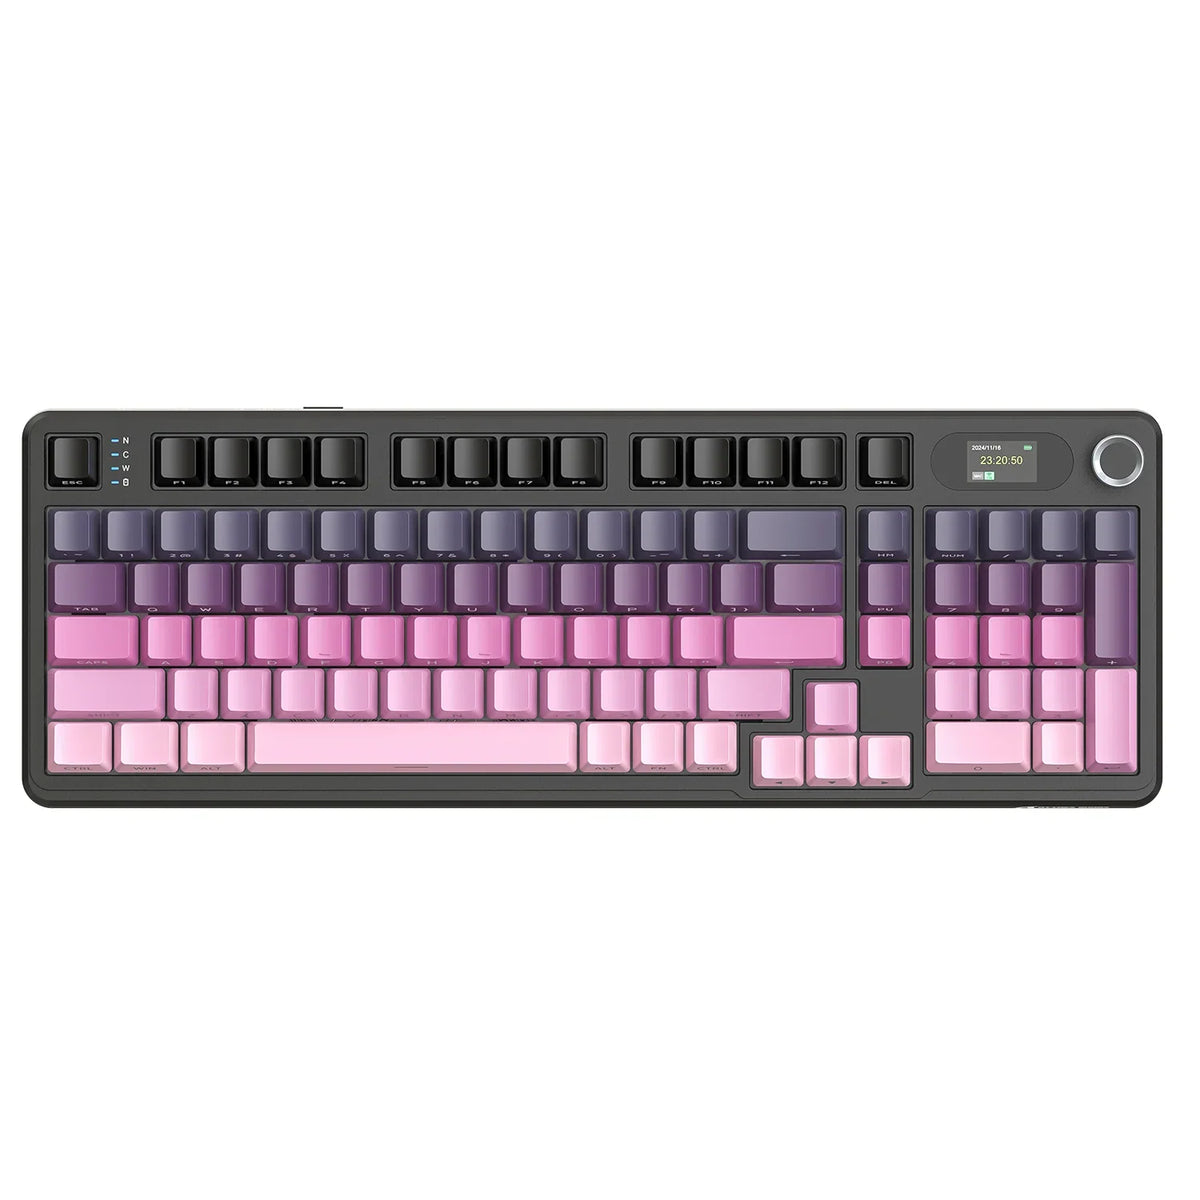
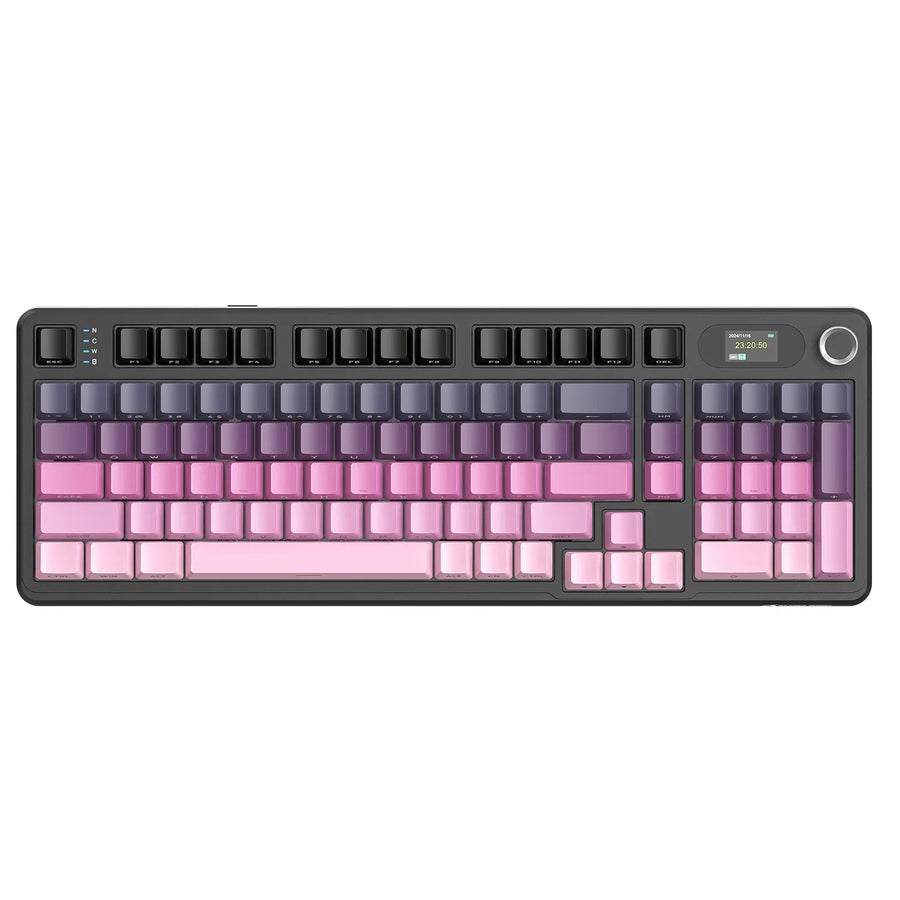
To replace a hot-swap keyboard switch without forcing it, first confirm that your exact keyboard supports the exact replacement switch. Next, follow that model's manual and keep the switch straight as it comes out and goes in. If a pin is bent, the pins don't match the socket, or the switch sits crooked, stop instead of pressing harder.
A "hot-swappable" label alone does not tell you a switch will fit. In this guide, the general handling rules come from technical guidance. Your keyboard's own documentation supplies the exact power-down, keycap, and switch steps for your model.
Confirm the replacement switch fits the exact keyboard
Before using a puller, verify that your exact keyboard model supports your specific replacement switch. Hot-swap sockets are not universal, so a hot-swappable label does not guarantee every switch fits.
Identify the exact keyboard
Start with the full model name, not just the brand or the product family. You can usually find it on the box, the label under the keyboard, or your order confirmation. Two boards with similar names can use different layouts and sockets, so a guess here carries into every later step. Once you have the model, pull up its documentation from our keyboard manuals and downloads or from the maker of your board.
Verify the documented switch and socket fit
Check what your keyboard's documentation says about supported switches, especially pin count. Fit depends on physical shape. A hot-swap PCB design guide explains that socket and switch geometry varies, because socket families such as Kailh CPG, Gateron, Outemu, and Mill-Max use different mounting methods and pin-opening sizes. For our X98 PRO wireless keyboard, we list support for 3- and 5-pin switches. That spec applies to that model only. When you shop our mechanical keyboard switches, match each switch's pin count to what your own board's documentation lists. If the documentation doesn't mention your replacement switch, don't start the swap until you confirm it.

Prepare and follow the keyboard's documented replacement procedure
Follow these handling steps to carry out your model's replacement sequence without adding force.
Prepare the keyboard and remove the keycap
Open your manual and follow its power-down guidance before you pull anything. Power steps can differ between models, so use what your board's documentation says. Use the keycap tool your manual names and lift the cap the way it describes. Some keyboards ship with the tools you need. For the X98 PRO, we include a keycap and switch puller and a manual in the box. If your board came without tools, our keycap and switch pullers cover both jobs. Set the cap aside so the switch housing is fully exposed.
Remove and insert the switch without forcing it
Grip the switch with a puller made for switches. Then lift it straight up. The same design guide recommends vertical removal with a switch puller, because rocking or tilting the switch puts uneven stress on the socket. Before you insert the new switch, look closely at its pins. They should be straight and line up with the holes in the plate and socket. Hold the switch level, line it up the way your manual shows, and press it down evenly until it seats. If your manual gives a specific orientation or press point, follow that over these general tips.
Stop and reassess if pins or fit look wrong
Stop the swap and reassess compatibility and alignment as soon as any of these signs appears. The design guide warns that bent pins or angled insertion, along with incompatible pin geometry, can deform socket contacts. Extra force won't fix any of these problems, and it can damage the socket.
- A bent pin: Set the switch aside. Use a switch with straight pins instead of pressing a bent one into the socket.
- Pins that don't match the socket: Go back to the compatibility check. A pin count or layout that differs from your board's documentation means this switch is not a confirmed fit.
- A tilted or off-center switch: Lift it back out straight, recheck where the pins line up, and start over level.
- A switch that won't go down evenly: Remove it and inspect both the pins and the alignment before you try again.
There is no universal amount of resistance that counts as "normal," so don't judge the swap by feel alone. Judge it by what you can see: straight pins, matching geometry, and a level switch. If a socket on one of our keyboards looks damaged after a swap, contact our support team before you try another switch in it.
Test the replacement key response
Finish by verifying that the replaced switch registers properly. If your keyboard's manual specifies a post-swap check, run that procedure first.
For a hands-on example, one K68 owner walkthrough of a Ziyoulang K68 describes checking that the switch pins were straight before installing them and then testing every key before calling the job done. That is one owner's routine on one board, not a manufacturer procedure, but the idea is easy to copy.
Put the keycap back on and open our online keyboard test tool. Press the new switch and the keys around it, and watch each press show up in real time. If the replaced key doesn't respond, take the switch back out and inspect it using the stop signs above. Pressing harder won't solve it.

FAQs
Do I need to unplug or power off the keyboard first?
Follow your keyboard's manual on this. Power-down guidance can differ between models, including wired and wireless boards, so use your model's documented steps instead of a general rule.
Where can I find the manual for my keyboard?
Check the box first, since some keyboards ship with a printed manual. For our keyboards, digital manuals, firmware, and software are on our driver and manual downloads page. For other brands, go to the maker's support site and search the exact model name.
Should I swap a failed switch myself if my keyboard is still under warranty?
Read your warranty terms before you open anything, because coverage rules vary by brand. Our switch warranty claims guide explains common switch failure signs and how to approach a claim, which can help you decide whether to replace the switch or file a claim first.
Can one replacement switch fit two different hot-swap keyboards?
It can, but only if both boards' documentation supports that switch's pin layout. Check each keyboard separately, since a switch that fits one board's sockets is not automatically a fit for the other.