


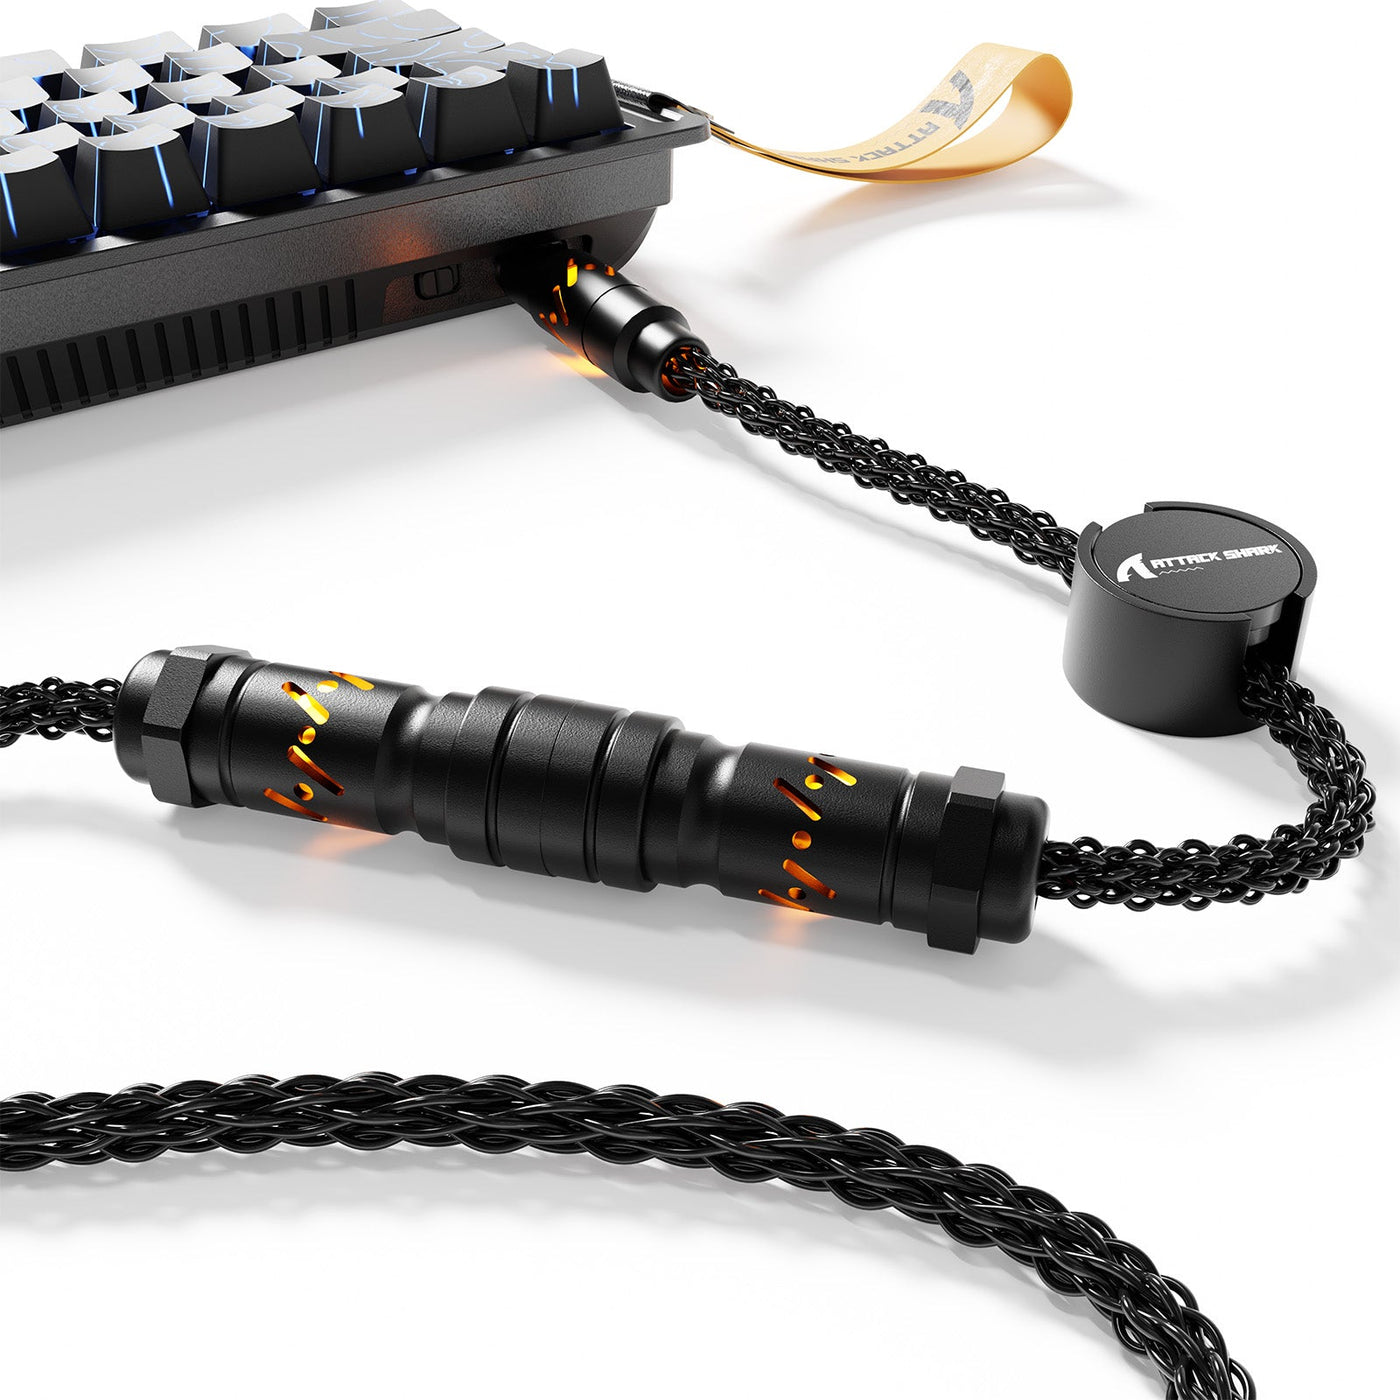
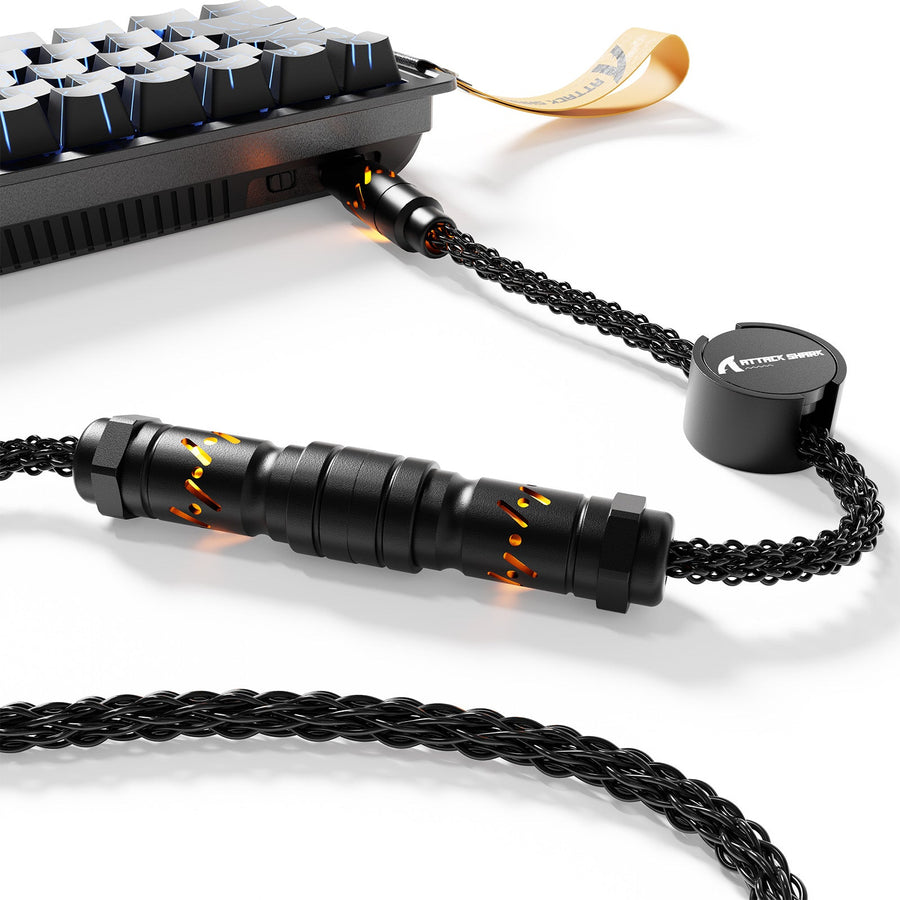
A clean gaming desk starts with the route, not the accessory. Trace each cable from the device to the computer, hub, or power source; separate fixed runs from cables that move or get unplugged; then secure only the slack that serves no purpose. Once the path is clear, choose a coiled keyboard cable or straight cable by measuring the actual route, checking connector details, and considering how often you reposition the keyboard. Finish by testing movement, cleaning access, and likely upgrades from your usual gaming position.

Start With a Cable Clutter Audit
The fastest way to improve a messy desk is to identify which cables create visual clutter and which ones interfere with movement or access. Hold off on buying a tray, sleeve, or new cable until you know where every important run begins, ends, and needs to move.
Trace each cable from its device to the computer, hub, monitor, or power source. As you go, note:

- Destination: What does the cable connect, and where does it need to end?
- Movement: Will it move during gaming, cleaning, desk-height changes, or an upgrade?
- Excess slack: Is the extra length visible, sagging, or crossing another route?
- Connector access: Will you need to unplug, swap, or troubleshoot it regularly?
- Future changes: Could a new monitor, keyboard, headset, controller, or hub change the route?
Group cables by destination and how they behave instead of forcing every wire into one bundle. A fixed display run may belong in one under-desk path, while a keyboard or mouse cable needs a more accessible route. Frequently handled connections should remain identifiable even when the desk looks tidy. A practical desk-cable workflow can provide context for keeping the route easy to reopen, but it is not a technical standard.
For a desk-space planning reference, our keyboard layout space guide can help you think through how the keyboard's footprint affects the visible route. A layout guide will not solve cable clutter by itself, but device placement can shorten the path you need to manage.
Build the Under-Desk Routing System
Build the system in order: place the equipment, route fixed paths, add moving paths, secure excess slack, restore access, and test the result. A basic desk-cable workflow can help illustrate the sequence, but organizer capacity, spacing, and cable limits depend on the products and desk involved. The best under-desk cable management for gaming makes the desk easier to use and maintain rather than simply hiding every connection.
Choose a Tray or Channel for Desk Clearance
A tray or channel is useful only when it fits beneath your desk and still lets you reach the connections that matter. Before installing one, check:
- the available clearance beneath the desk;
- the mounting method and the surface it requires;
- where cables enter and exit;
- the organizer's stated capacity and product instructions;
- access to power strips, adapters, hubs, and frequently changed connections; and
- whether you can reopen or adjust the route later.
Treat the organizer as an organizational aid, not as proof that equipment is protected. Keep power-related connections arranged according to the relevant manufacturer's instructions, and avoid sealing a frequently changed adapter or switch inside an inaccessible bundle. If you are comparing supporting keyboard accessories, use the same test: does the item help the route while preserving access?
Route Moving Peripherals With Usable Slack
Moving devices need a different route from fixed equipment. Place the keyboard, mouse, headset, or controller where you normally use it before securing anything.
- Place the device in its normal gaming position.
- Identify the movement needed during play, cleaning, and ordinary repositioning.
- Route the cable toward its destination without pulling it tight.
- Secure only the excess slack that does not support that movement.
- Reconnect the device and test reach, connector orientation, and access.
- Reopen the route if the connection becomes awkward to handle.
For a fixed desk, keep stable runs organized under the surface and give frequently moved peripherals their own serviceable paths. For a height-adjustable desk, separate the fixed section from the section that moves with the desk. Move the desk through its intended height range and watch for taut sections, snags, or lost reach before you finalize the mounting points. There is no universal loop size that fits every desk mechanism.
Keep the Desktop Visually Quiet
A tidy desktop usually comes from intentional visible runs, not the largest possible bundle. Keep exposed cables short where the route allows, use consistent routing points, and avoid combining unrelated wires when they move or need servicing in different ways.
- Aim the visible section toward the device instead of letting it sweep across the desk.
- Keep regularly handled connections easy to recognize for cleaning and upgrades.
- Check the result from both the gaming position and the room-facing view.
The result should be clean gaming setup cables that look controlled without turning basic maintenance into a teardown project.
Choose a Coiled Keyboard Cable by Setup Need
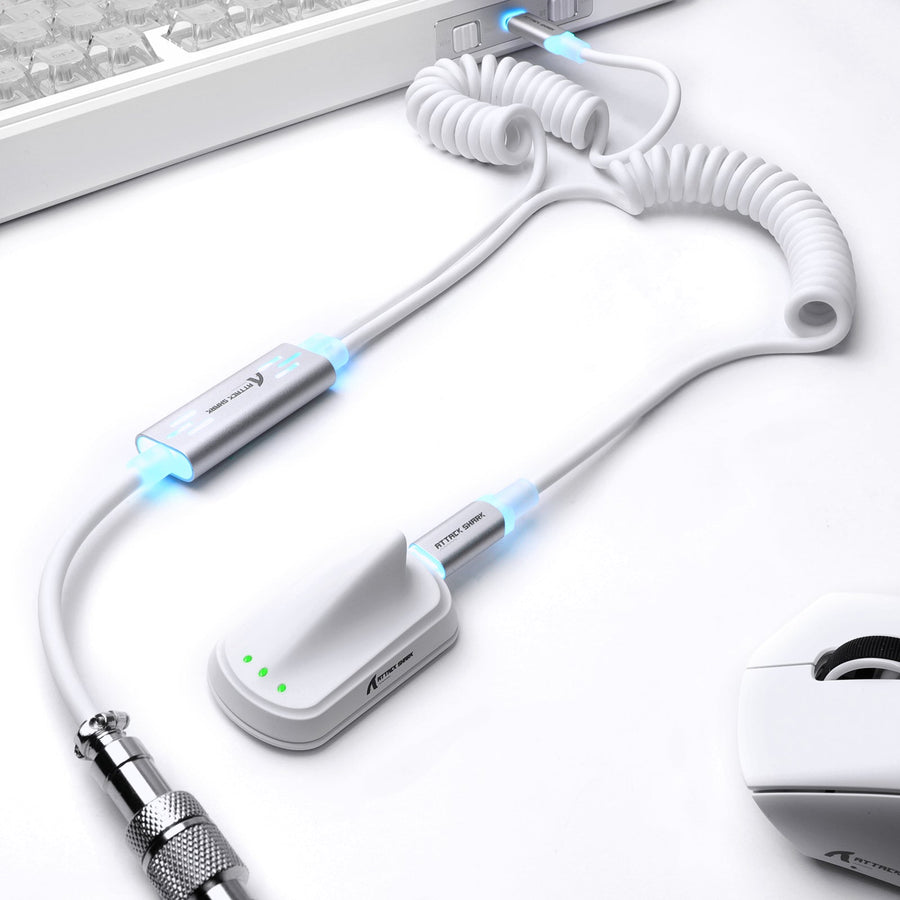
A coiled keyboard cable is a fit-and-style choice, not an automatic upgrade. It may make the visible route look more intentional when the coil, reach, connector placement, and handling pattern suit your desk; a straight cable may be simpler when the path is short, tight, or frequently repositioned. Compare the actual route before choosing based on appearance.
| Cable style | Best route context | Movement and reach | Visible slack | Unplugging access | Pre-order checks |
|---|---|---|---|---|---|
| Coiled cable | A route where concentrated slack suits the keyboard position and the coil will not crowd nearby equipment | Check usable reach from the keyboard to the routing point; do not judge reach from the relaxed coil alone | Can make slack look more intentional when the route fits | May be less convenient if you move or unplug the keyboard often; test the planned connector position | Confirm keyboard-side connector, host-side connector, stated length, orientation, and any data, charging, lighting, or device requirements |
| Straight cable | A direct or changing route where simple flexibility matters more than a coiled appearance | Often easier to position around a short or frequently adjusted path, but the listing still controls the actual reach | May require a visible loop or a careful securing point | Usually straightforward to reposition, subject to the cable and connector design | Confirm connectors, length, device requirements, and how the cable will turn or exit the desk |
| Detachable or custom-style cable | A setup where the keyboard-side connection and visible routing need closer attention | Depends on the specific construction and connector arrangement | Can be arranged around the desk's chosen entry point, but details vary | Check whether the connection is easy to access without disturbing the rest of the route | Verify the full connector path, device support, length, and current listing specifications |
Use this coiled cable routing for a gaming setup filter before ordering:
- Measure the complete path from the keyboard to the host or intended routing point.
- Check where the keyboard-side connector sits and which direction the cable must leave the case.
- Confirm the listing's stated length and interpret it according to the listing's own description, not the cable's relaxed appearance.
- Consider whether you move the keyboard for games, cleaning, storage, or a second layout.
- Skip a coil if it adds bulk, reduces usable reach, or makes frequent unplugging inconvenient.
Product pages can be a useful starting point for checking current details. You can inspect the C07 aviator cable, C01ULTIMATE coiled cable, or C01Ultra custom cable, but treat each page as a listing to verify—not proof that the cable fits every keyboard or desk. Confirm the current connector, length, compatibility notes, and required data or charging support before placing an order. A coiled shape alone does not establish lower latency, extra protection, universal compatibility, or guaranteed durability.
Run a Final Clean Gaming Setup Checklist
Your cable management is finished when the setup looks quieter without sacrificing movement, access, cleaning, or the next hardware change. Run this check from your normal gaming position and then from the room-facing view:
- Sight lines: Are visible loops, sagging sections, and unnecessary crossings gone or intentionally placed?
- Movement: Can the keyboard, mouse, headset, and controller move through their practical range without pulling the connection?
- Desk motion: If the desk adjusts, does the route remain serviceable through its intended height range?
- Connector access: Can you reach ports, hubs, adapters, and power switches without dismantling the whole route?
- Cleaning access: Can you wipe the desk and reach under it without disturbing every cable?
- Identification: Can you tell unfamiliar connections apart when you need to unplug or troubleshoot them?
- Upgrade path: Is there a sensible route for a new monitor, keyboard, audio device, or desk accessory?
- Unresolved slack: Is any remaining slack serving movement, or is it simply waiting to be secured or rerouted?
If the desk passes the appearance test but fails movement or access, it is not finished. Reopen the smallest section that causes the problem instead of adding more bundling. For the keyboard area, related slim keyboard space options may help with future layout planning, while wrist rest options are a separate comfort decision—not a substitute for a workable cable route.
FAQs
Use these setup-specific questions to check sizing, connectors, desk motion, bundling, and maintenance before you buy.
How Long Should a Coiled Keyboard Cable Be for a Gaming Desk?
Measure the complete route from the keyboard connection to the host or routing point, including the path around the desk. Then compare that measurement with the listing's stated usable length and leave room for the keyboard's normal movement. Do not estimate from the coil's relaxed appearance; verify the listing before ordering.
Can I Use a Coiled Keyboard Cable With Any Mechanical Keyboard?
No cable shape guarantees a fit. Check the keyboard-side connector, host-side connector, cable orientation, required data or charging support, and the listing's compatibility notes. If the keyboard uses a less common connection or detachable arrangement, compare the actual port and cable path rather than relying on a product photo.
How Do I Manage Cables on a Standing or Height-Adjustable Gaming Desk?
Separate the fixed route from the section that moves with the desk. Leave the moving section serviceable, then test the complete path at every intended desk position, including your lowest and highest comfortable settings. Reposition the route if it becomes taut, snags, or loses connector reach; the correct arrangement depends on the desk mechanism.
Should Power Cables and Gaming Peripheral Cables Be Bundled Together?
Not automatically. Group cables by destination and access, and keep paths distinct or easy to reopen when their movement, adapters, or unplugging frequency differs. Before bundling a power-related run, follow the relevant manufacturer's instructions and make sure switches, adapters, and connections remain reachable for the way you use the desk.
When Should I Reorganize My Gaming Desk Cables?
Recheck the route after adding or removing hardware, changing desk position, moving a hub, or altering the power layout. It is also time to reorganize when cleaning becomes awkward, a connector is hard to reach, movement feels restricted, or visible slack has accumulated. A short route audit after each meaningful change prevents small problems from becoming a full redo.