


To set mouse DPI stages without surprises, start with your exact mouse model and its official manual or software. That documentation tells you how many stages exist, how the active stage is shown, and which ones you can edit or save. Then set only the few values you actually use, and write them down so you can spot an accidental change.
If aim or cursor speed still shifts unexpectedly, check three things one at a time: the active DPI stage, the game's sensitivity number, and the Windows pointer speed. These are separate settings. Changing more than one at once hides the real cause.
Identify and Set a Small Group of DPI Stages
Your mouse's documentation is the only reliable map of its stages and controls. Button locations, indicator lights, and software options vary by model, so follow this order:
- Confirm the exact model name. Check the box, receipt, or product listing. Then download that model's manual and configuration software. For our mice, you can find the official manuals and drivers in one place.
- Read the stage list. Note how many DPI stages the model supports, the value range, and how it shows the active stage. That could be a light, an on-screen readout, or a software display. Use only what the manual describes.
- Choose your small group. List the jobs you need, then pick one value for each. As an illustrative example, you might keep one stage for your main game and one for desktop work. If you want background on what DPI changes, our guide to gaming mouse sensor specs explains the terms.
- Edit with documented controls only. Change stage values in the software or onboard menu the manual names. Remove or turn off unused stages only if the manual confirms that the stage count can be reduced. If it can't, note which stages are extras so you recognize them when you land on one.
- Save and confirm. Follow the model's save procedure. Then close and reopen the software, or reconnect the mouse, and check that your values are still there.
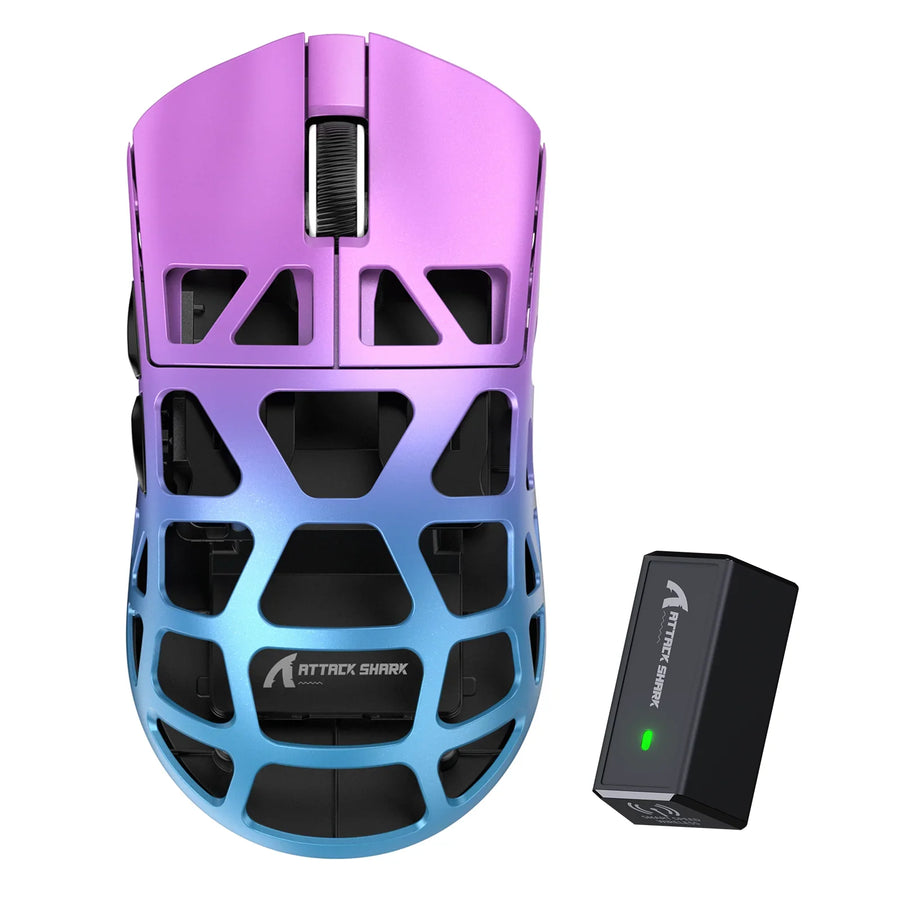
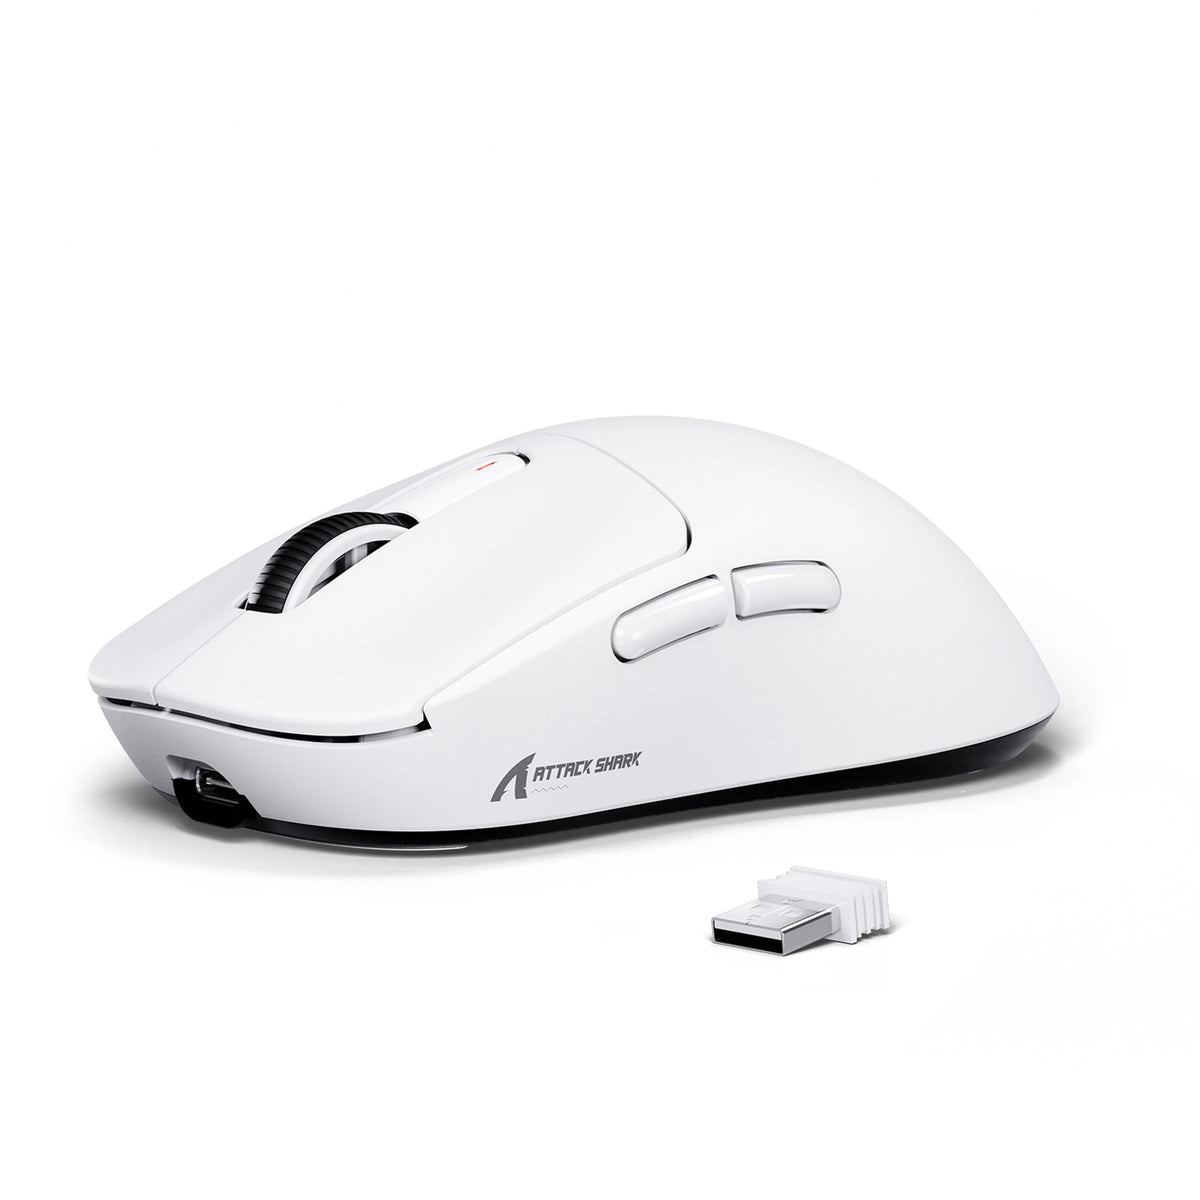
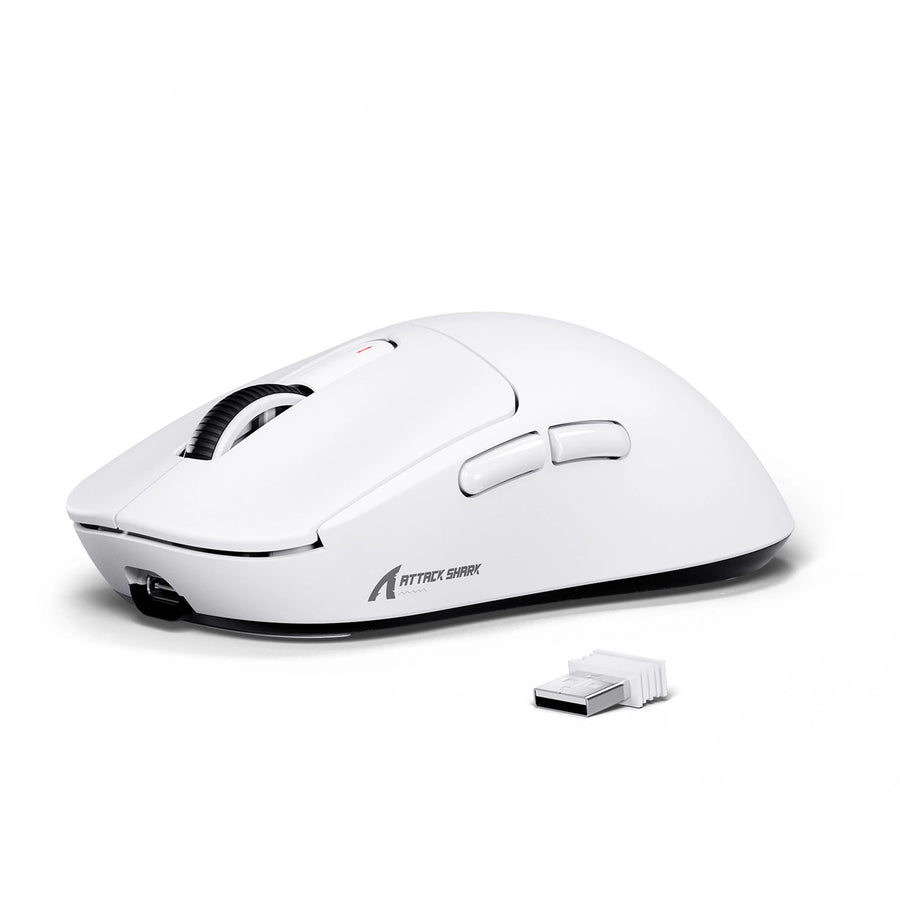
Here is how this looks on one model. Our X3 wireless gaming mouse offers six adjustable DPI levels up to 26,000 DPI. You configure DPI in our driver software, or in a web-based configurator that changes settings without installing the PC software. Settings save to the mouse's onboard memory. We don't state on the product page whether the X3 lets you remove stages, so check the X3 manual before planning on fewer than six.

Reduce Accidental DPI Switching Only With Confirmed Controls
You can stop accidental switching at the source only if your model documents a control for the DPI button itself. Without that, your best protection is a small, known stage group that makes any accidental press easy to spot.
- Look for a setting that names the DPI button. In the manual or software, search for an option to lock, disable, or reassign the DPI-cycle button. If you find one, apply it. Then press the DPI button and confirm that the active stage stays the same.
- Don't read general button programming as a DPI lock. Our X3 software can program buttons. The product page doesn't specify whether the DPI-cycle button is one of them, so check the X3 manual and software before counting on a lock or remap.
- If no option is documented, treat the button as active. Don't rely on unofficial workarounds. Keep your stage group short, record each value, and use the verification steps below whenever movement feels off.
- Recheck after updates. If you install new software or firmware, confirm that any documented lock or reassignment is still in place by pressing the DPI button again.
Verify the Active Stage and Check Other Sensitivity Settings
When movement suddenly feels faster or slower, test each setting separately and leave the others alone. Work in this order:
- Check the active DPI stage. Use your model's documented indicator or software readout. Don't guess a stage from a light color the manual doesn't explain. If no indicator is documented, use the ruler-based DPI-stage mapping method from DPI Analyzer as a cross-check. You enter the DPI you set, make several runs along a ruler, then measure each button-selected stage and save it to its own stage slot. The result is a written map of your DPI button's cycle based on measured output.
- Hold the game's sensitivity steady. Write down the game's current sensitivity number and don't change it while you check mouse stages. Aimlabs' guide treats game sensitivity and mouse DPI as separate values: DPI is the hardware setting on the mouse, and sensitivity comes from the game's own settings menu. Check or change the game value as its own step.
- Check Windows pointer speed. In Windows 11, go to Start > Settings > Bluetooth & devices > Mouse and look at the Windows 11 pointer-speed slider. This is a system setting, not a DPI stage or game sensitivity. Our guide to other Windows pointer settings covers pointer acceleration if the cursor still feels inconsistent.
- Change one thing, then retest. Adjust a single setting and move the mouse again. If the feel changes, you know which setting caused it.
If the results still don't match your notes, don't touch anything new yet. Recheck the active stage first, then the game's sensitivity value, and only then change one of them again.
FAQs
Is CPI the same setting as DPI?
For this task, yes. Aimlabs' guide labels it "CPI/DPI" and describes it as the hardware setting on your mouse. Your mouse software may use either term for the same stage values.
How many DPI stages should I keep?
If your mouse manual confirms that the stage count can be reduced, keep only the stages you have a clear use for, such as one for gaming and one for desktop work. When a model does not support removing stages, keep the full set but record the extra values so you can identify them quickly. Fewer active stages mean fewer surprise values when the button gets pressed by mistake. There's no universal right number or value. If you want to see how resolution affects small aim corrections, our article on DPI and micro-adjustment precision goes deeper.

Will my stages carry over to another computer?
That depends on whether your model saves settings to the mouse. Our X3 stores settings in onboard memory. For other models, check the manual for onboard memory or profile behavior, then plug into the second computer and confirm the active stage.
Does the DPI number in my software match the real output?
Not necessarily. The DPI Analyzer guide presents its ruler-based map as reflecting the sensor's real output rather than the nominal values. If a stage feels different from its number, measure it before you change the setting.